





Multi-account bans rarely start with a stolen password. Platforms link accounts by matching browser fingerprints and IP addresses, and once two profiles look like the same machine, both go down together. An ixBrowser proxy setup covers both signals at once: the anti-detect browser gives every profile its own fingerprint, and the proxy gives it a separate exit IP.
Changing only one half leaves you exposed. A fresh fingerprint on the same home IP still groups your accounts. A new IP behind an identical canvas and WebGL signature does the same thing in reverse.
ixBrowser is a sensible place to start because the free plan is genuinely usable, and the proxy fields behave the same whether you're on free or paid. What it doesn't do is sell you IPs. You bring your own, and for account work that means ISP or residential proxies rather than datacenter ranges, which get flagged quickly on the platforms where people run multiple identities. If you're managing two or three accounts, sticky residential sessions are enough. I'd only pay for dedicated ISP proxies once a profile needs to hold the same IP for weeks at a time.
Below are two methods for connecting a proxy to an ixBrowser profile. Both take a few minutes, and both end with each account running on its own IP and its own fingerprint.
Why ixBrowser?
Anti-detect browsers aren't new. But most of them charge premium prices for basic functionality.
ixBrowser breaks that pattern. It generates unique browser fingerprints for every profile you create. Each profile mimics a completely separate device with its own hardware specs, browser configuration, and system settings.
The fingerprint spoofing holds up against serious scrutiny. Sites like iphey, pixelscan, and browserscan, built specifically to detect fake fingerprints, show clean results.
What you get with ixBrowser:
The free tier includes 10 new profiles daily with unlimited total profiles. Paid plans unlock API access, cloud storage, and team collaboration features starting at $3.99/month.
Built-in tools handle extension management, profile transfers, and bulk operations. There's also an integrated proxy marketplace if you need quick access to IPs.
For teams, permission controls let you share profiles without exposing sensitive credentials.
Connecting Proxies to ixBrowser
Fingerprint masking solves half the problem. The other half is IP isolation.
Without unique IPs, platforms can still connect your accounts through shared network data. ISP proxies work best here because they use residential IP addresses assigned by real internet providers, which makes them very hard to detect.
You can pick up ISP proxies from Roundproxies at https://app.roundproxies.com/signup. Create an account, grab a package, and you're ready to connect.
ixBrowser supports two configuration methods depending on how many proxies you're working with.
How to Set Up Roundproxies in ixBrowser
Now let's connect your Roundproxies ISP proxies to ixBrowser.
You can get whatever proxies you would need from Roundproxies.
Just head over to https://app.roundproxies.com/signup and create an account, then purchase a package of proxies. That's it.
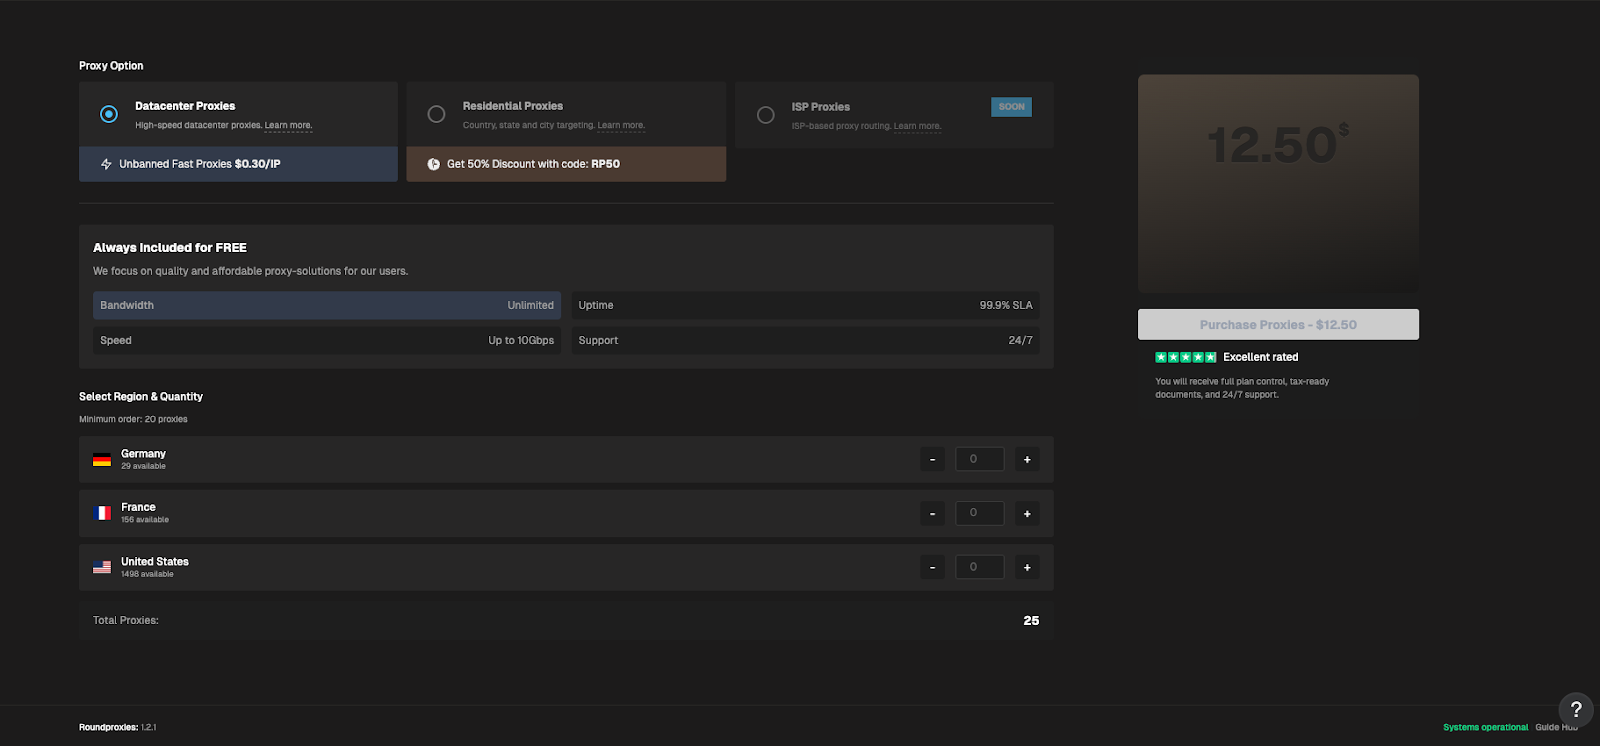
Two options: single proxy setup or batch proxy setup.
Method 1: Adding a Single Proxy
Best for testing or running a handful of accounts.
Step 1: Download and Install ixBrowser
Go to the ixBrowser website and click Download.
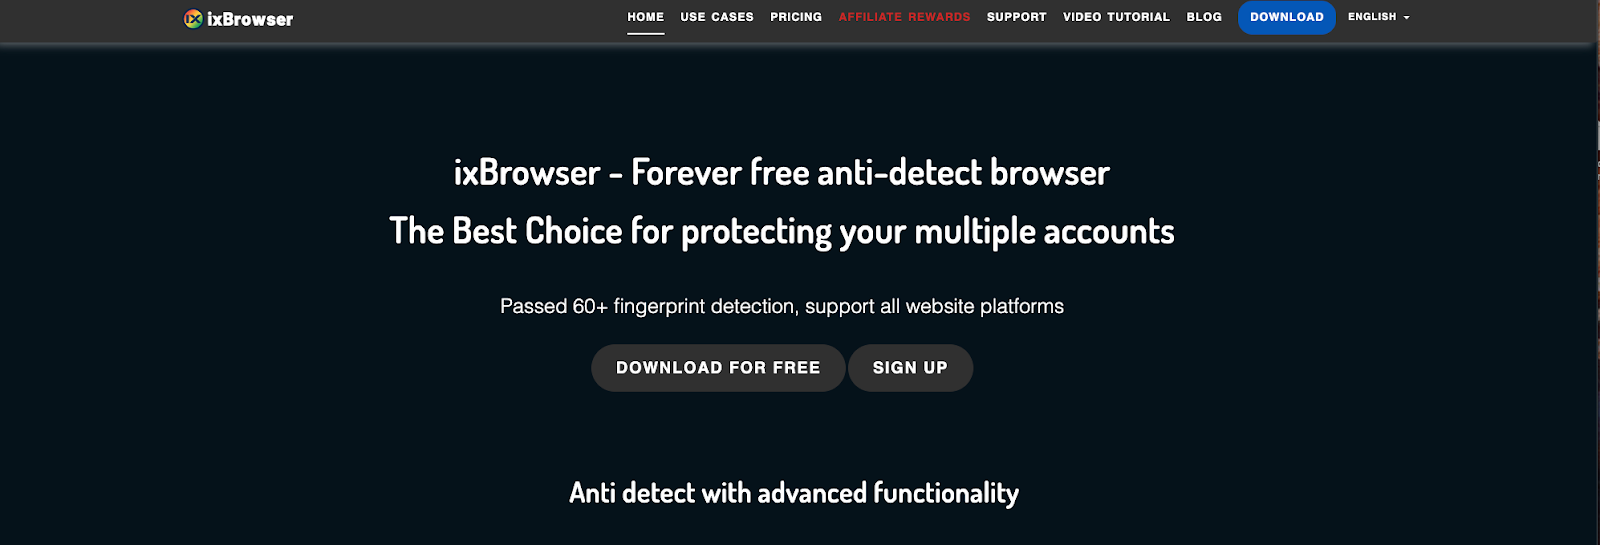
Run the installer. Choose your installation path. Click Install.
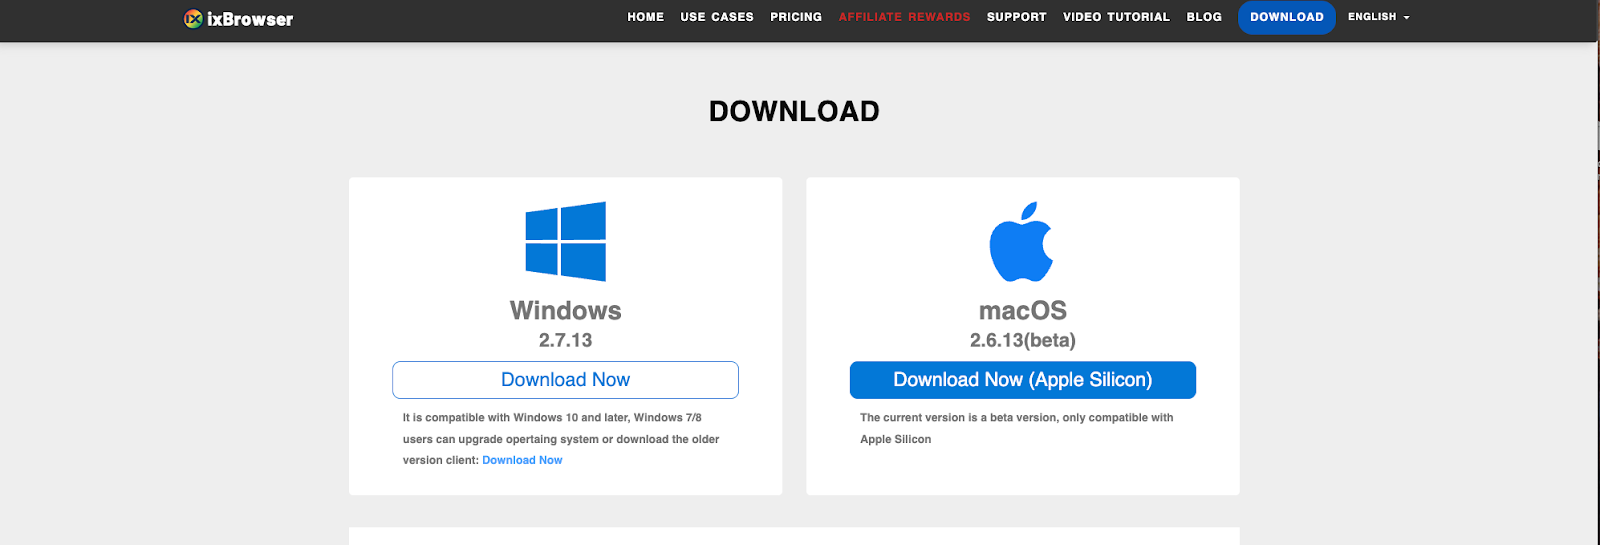
Done.
Step 2: Create Your Account
After installation, you'll land on the account creation page.
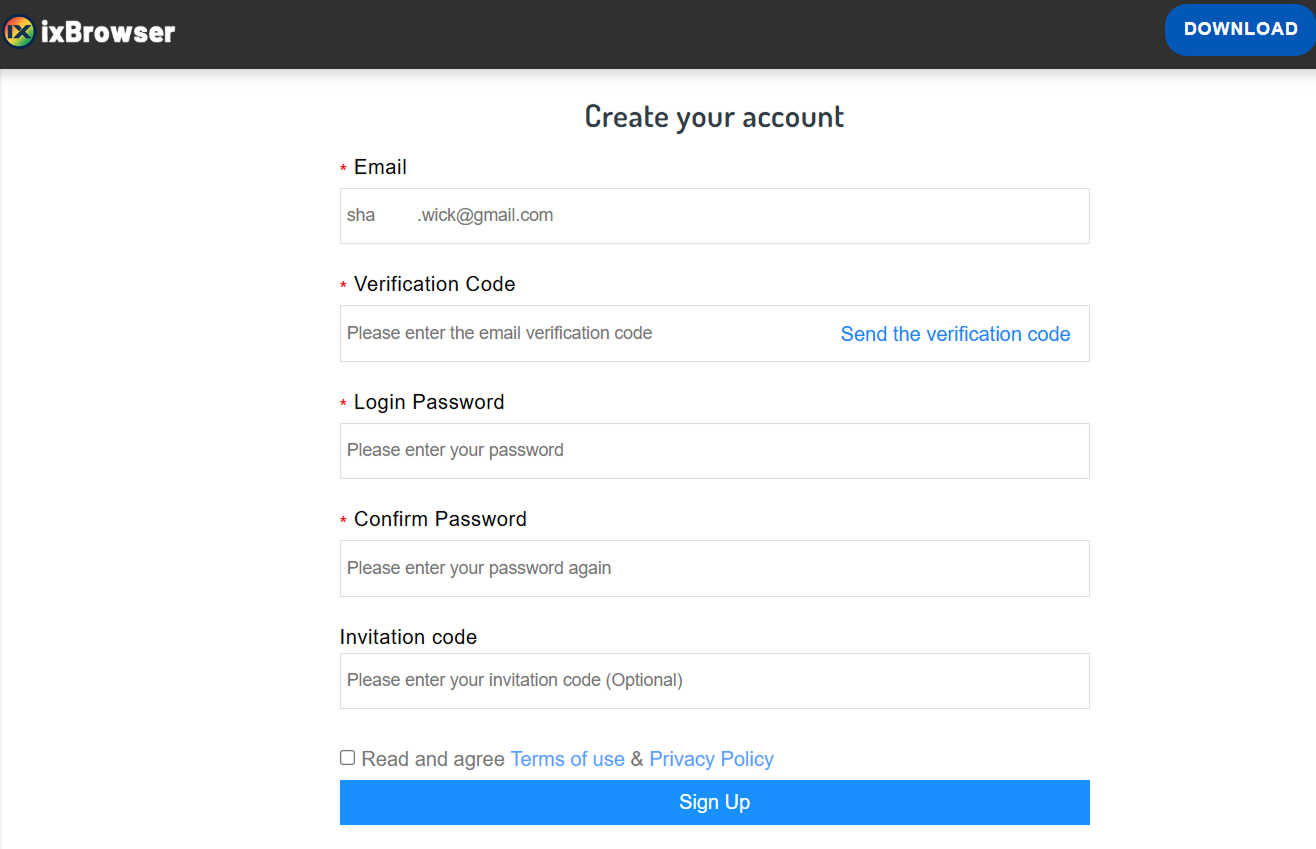
Enter your email, username, and password. Click Sign Up.
Step 3: Access Proxy Settings
Once you're logged in, look at the right navigation menu.
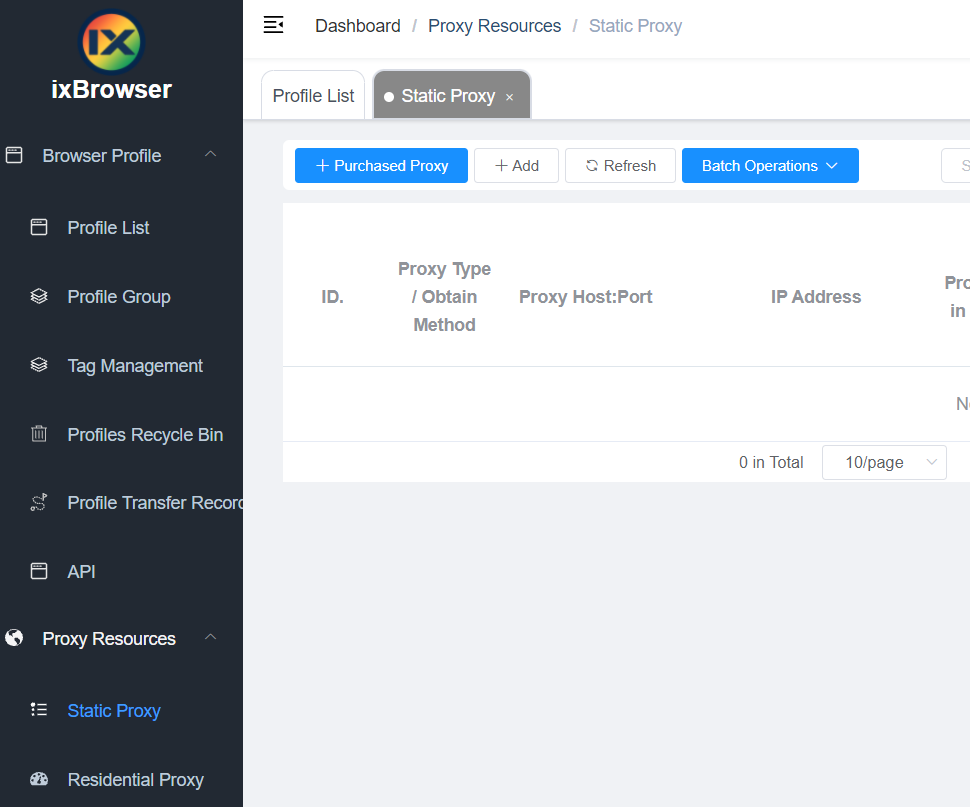
Click Proxy Resources → Static Proxy.
This opens the proxy setup screen.
Step 4: Enter Your Roundproxies Details
Fill in the fields:
- Proxy Type: Select HTTP, HTTPS, or SOCKS5 (depending on your Roundproxies plan)
- Proxy Host: Your Roundproxies IP address
- Proxy Port: The port number provided
- Proxy Account: Your Roundproxies username
- Password: Your Roundproxies password
Click Confirm to save.
That's it. Your proxy is now connected.
Method 2: Adding Batch Proxies
Got multiple proxies? Add them all at once.
Step 1: Access Batch Proxy Settings
From the ixBrowser home page, go to:
Proxy Resources → Static Proxy → Batch Operations → Add in Batches
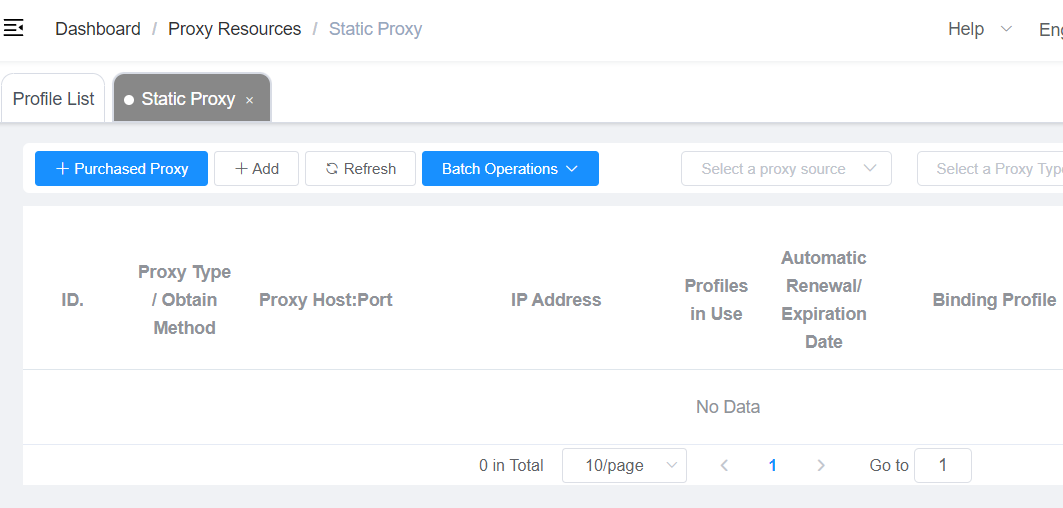
Step 2: Enter Your Proxies
Use this format:
proxyip:port:username:password
One proxy per line. You can add up to 200 proxies at once.
Supported types: HTTP, HTTPS, SSH, SOCKS5.
If you don't specify a type, it defaults to HTTP.
Step 3: Confirm
Click Confirm.
ixBrowser automatically adds all proxies and displays them in a list.
Done. You've just set up batch proxies in seconds.
How the Setup Protects Your Accounts
Each browser profile in ixBrowser generates a distinct digital identity. Combined with dedicated proxy IPs, you create complete separation between accounts.
Fingerprint isolation prevents device-based linking. Platforms see different hardware, different browsers, different configurations.
IP isolation prevents network-based linking. Each account connects through its own residential IP address.
Profile separation keeps cookies, cache, and session data contained. Nothing leaks between accounts.
Run dozens of accounts from one machine. To detection systems, each one appears as a unique user on a unique device in a unique location.
Getting Started
The entire setup process takes less than ten minutes:
- Install ixBrowser from the official website
- Purchase ISP proxies that fit your needs
- Add proxies using either the single or batch method
- Create profiles and assign dedicated proxies to each
Once configured, you can scale your account operations without worrying about bans or flags. The technical barriers that trip up most people simply disappear.