Running cloaked campaigns without proxies is like driving without seatbelts. You might get away with it for a while, but eventually, you're going to crash.
Cloaking House is one of the most popular traffic filtering services used by affiliate marketers. But many users miss a critical piece of the puzzle: proper proxy integration.
In this guide, you'll learn exactly how to setup proxies with Cloaking House to maximize your campaign protection and avoid detection.
What is Cloaking House Proxy Integration?
Setting up proxies with Cloaking House involves configuring your cloaking flows to work seamlessly with proxy servers, ensuring your traffic appears legitimate while filtering out bots, moderators, and competitors. Proxies mask your real IP address and provide geotargeting capabilities that enhance Cloaking House's built-in filtering system.
The combination works because Cloaking House handles the traffic split (showing white pages to moderators and offer pages to real users), while proxies handle the identity layer (masking your technical footprint from ad platforms).
Without proxies, your campaigns leave digital breadcrumbs that sophisticated moderation systems can trace back to you.
Why You Need Proxies with Cloaking House
Cloaking House already has VPN/Proxy detection built in to filter suspicious traffic. But here's what most marketers don't realize: you need proxies on YOUR end, not just to block them from visitors.
Here's why proxy integration matters:
Account protection. When you manage multiple ad accounts from the same IP, platforms connect the dots fast. Proxies let you isolate each account's digital fingerprint.
Geotargeting accuracy. Running campaigns for German audiences from a US IP raises flags. Residential proxies from your target GEO make your traffic pattern look natural.
Testing capabilities. You need to see what your cloaked pages look like from different locations and connection types. Proxies let you simulate real user experiences.
Scaling safely. As you launch more campaigns across different platforms, proxies become essential for maintaining clean operational separation between accounts.
Step 1: Create Your Cloaking House Account
Before configuring proxies, you need an active Cloaking House setup. Head to cloaking.house and register for an account.
New users get a 7-day free trial with full functionality. This gives you enough time to test your proxy integration before committing to a paid plan.
Plans start at $49/month for the Starter tier, though annual billing drops this to $30/month. The pricing difference between tiers mainly affects the number of flows you can run simultaneously.
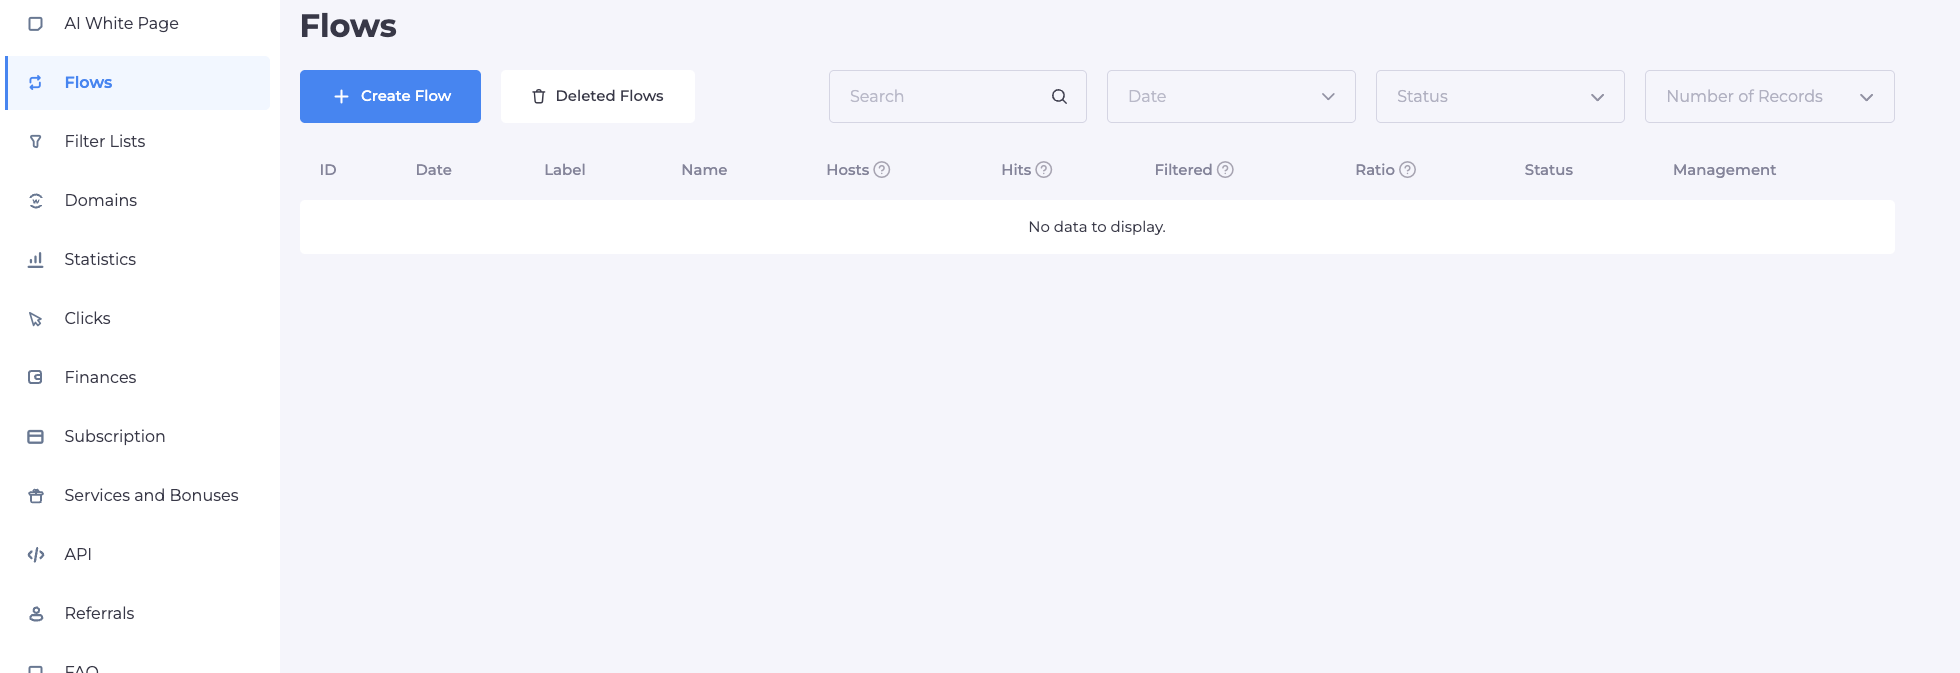
Once registered, navigate to the dashboard. You'll see the main sections: Flows, Statistics, Clicks, and Domains.
Step 2: Set Up Your Proxy Infrastructure
This is where most guides fall short. They assume you already have proxies configured. Let's fix that.
Choosing the right proxy type matters:
Residential proxies work best for most cloaking scenarios. They use IP addresses assigned to real home internet connections, making your traffic indistinguishable from legitimate users. This is particularly important when you're accessing your campaigns from locations that don't match your target audience.
Datacenter proxies are faster and cheaper but easier to detect. Use them only for testing and internal operations, not for accessing ad platforms directly.
Mobile proxies provide the highest trust level because they rotate through IPs used by actual mobile carriers. These are ideal for mobile-focused campaigns and platforms with aggressive detection.
ISP proxies fall between residential and datacenter. They're assigned to datacenters but registered under ISP names, offering a middle ground of speed and legitimacy.
For most Cloaking House setups, residential proxies from your target GEO deliver the best results. Providers like Roundproxies offer residential, datacenter, ISP, and mobile proxy options depending on your specific needs.
Configure your proxy connection:
Most proxy providers give you credentials in one of two formats:
host:port:username:password
Or IP authentication where you whitelist your server's IP and connect without credentials:
host:port
Store these details securely. You'll need them for both your antidetect browser and your hosting setup.
Step 3: Configure Your Flow with Proxy-Aware Settings
Now create your first cloaked flow. Click "Create Flow" in your Cloaking House dashboard.
First screen - Page URLs:
Enter your white page URL. This should point to compliant content hosted on your domain. If your white page lives on the same hosting as your cloaking setup, select "Load" as the preloading method.
For your offer page (the "grey" or "black" page), enter the actual offer URL. If this is hosted externally (like an affiliate network's pre-lander), select "Redirect" as the method.
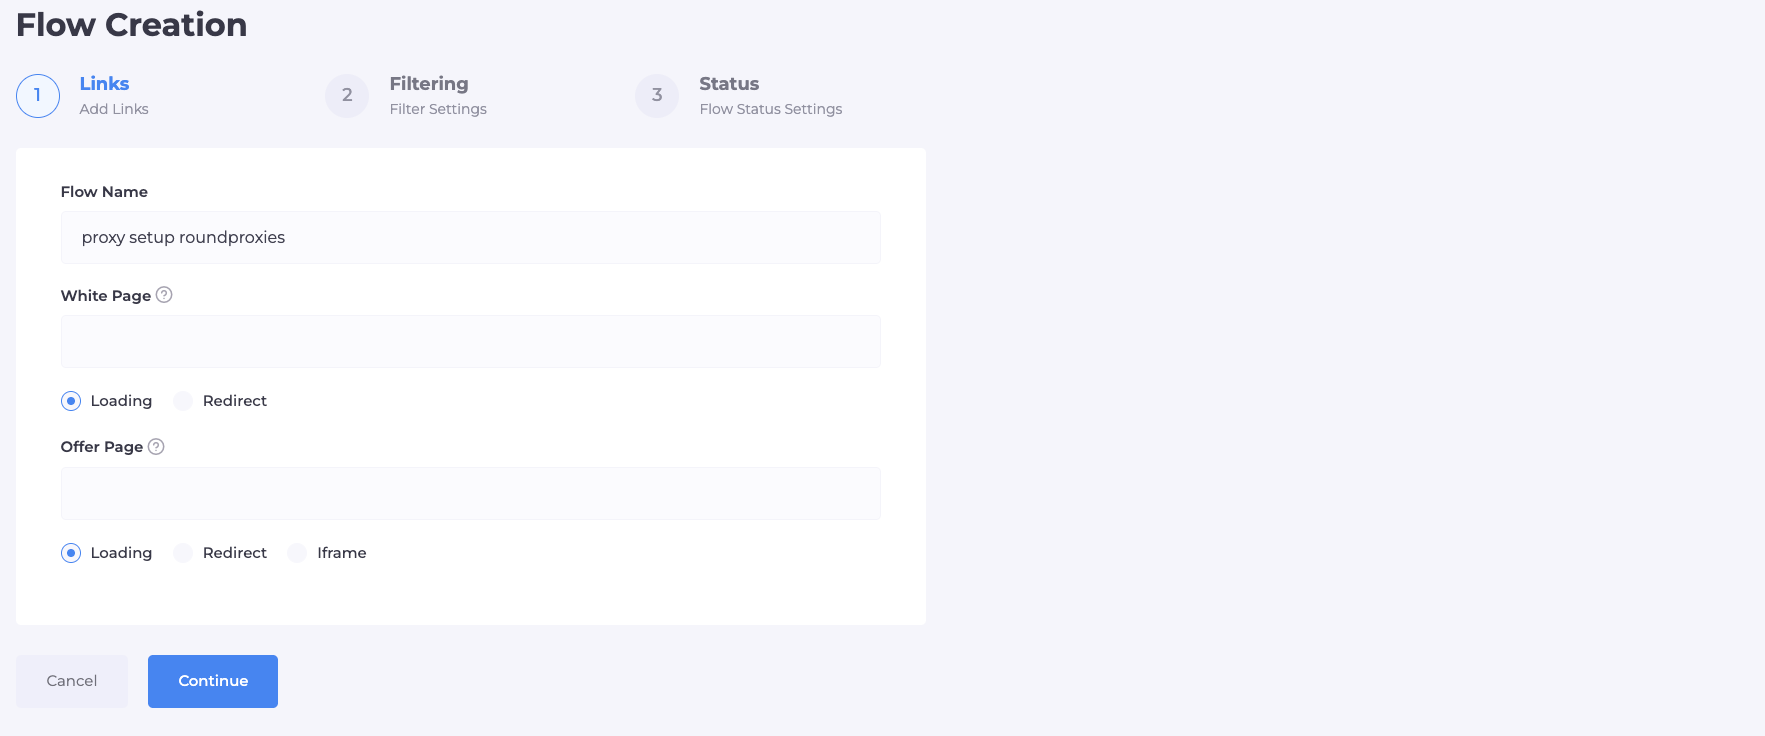
Name your flow something descriptive. When you're running multiple campaigns, clear naming prevents confusion.
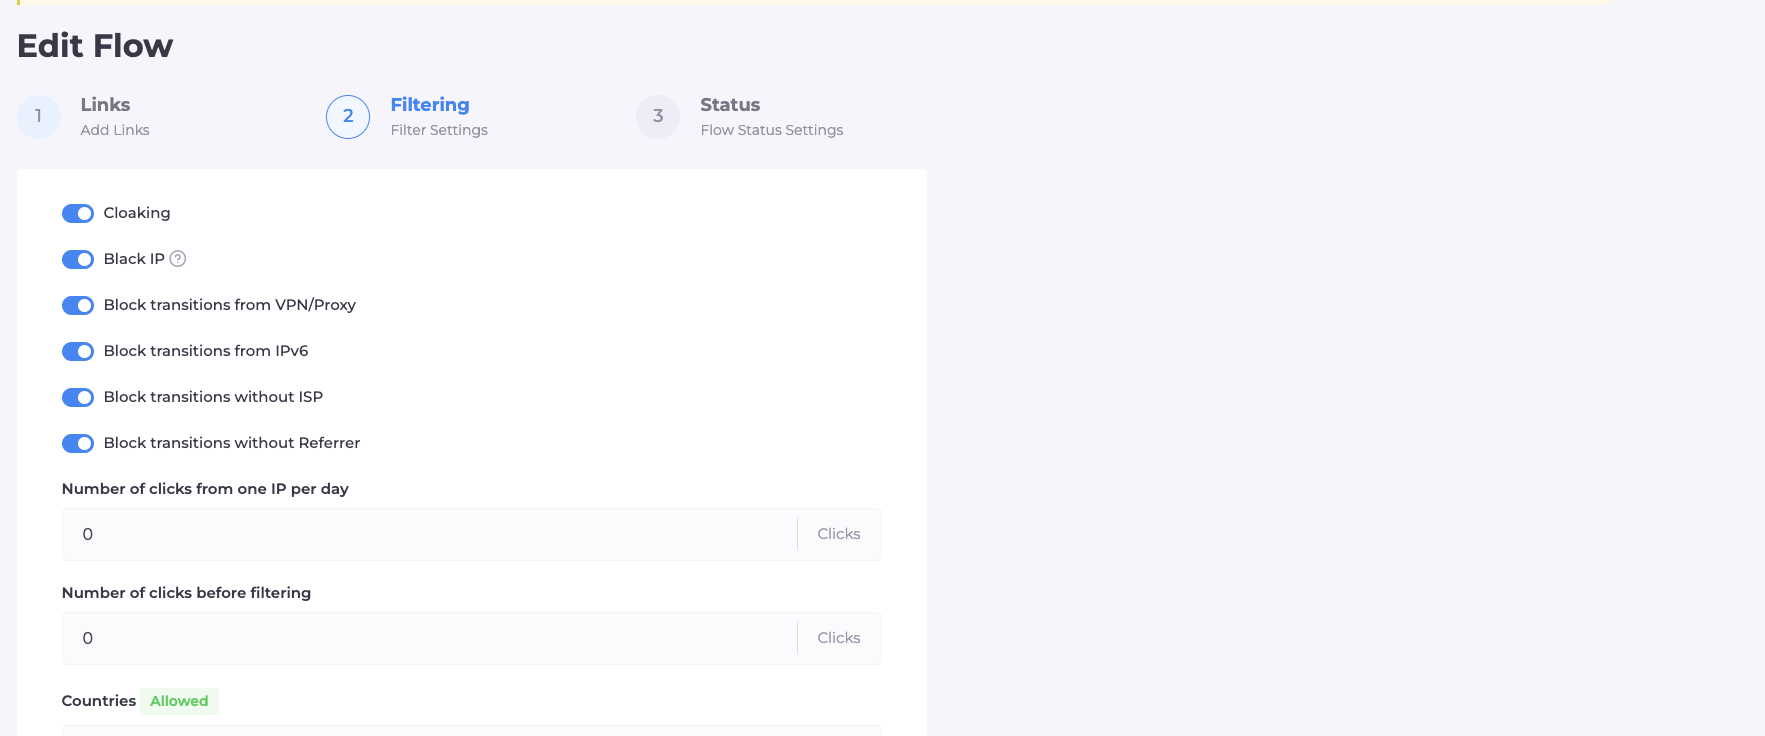
Second screen - Filtering:
This is where proxy-aware configuration gets important.
Enable these filters:
- Cloaking filter: Always on. This is the core traffic split.
- VPN/Proxy blocking: Enable this. You want real users, not people hiding behind VPNs.
- IPv6 blocking: Enable. Most legitimate mobile and residential traffic uses IPv4.
- ISP filtering: Enable. Block traffic without identifiable ISP data.
- Referrer filtering: Enable before launch, but temporarily disable during your own testing.
Set your GEO targeting to match your campaign. Select only the countries you're actually targeting.
Why the referrer filter matters for proxy testing:
When you visit your cloaked URL directly (without clicking through from an ad), there's no referrer. The system will send you to the white page by default.
During testing, disable this filter temporarily so you can see your offer page. Remember to re-enable it before pushing live traffic.
Step 4: Integrate Cloaking Code with Your Hosting
Cloaking House offers PHP integration. This is the recommended method for maximum control.
Click the integration icon on your flow and download the index.php file. This file contains the logic that communicates with Cloaking House's servers to determine which page each visitor sees.
Upload this file to your hosting's root directory (the same folder as your white page files).
Important file structure:
Your domain's root directory should look like this:
/public_html/
├── index.php (Cloaking House integration file)
├── white-page.html (or renamed to something like site.php)
└── /assets/ (images, CSS for your white page)
If you had an existing index file for your white page, rename it (for example, to site.php) and update the white page URL in your flow settings to reference the new filename.
Testing with proxies:
Now test your setup through your proxy connection. Using your proxy-configured browser:
- Visit your domain directly. You should see the white page (assuming referrer filtering is active).
- Click a link that would simulate ad traffic. Real traffic should reach your offer page.
Check the Clicks tab in your Cloaking House dashboard. Each visit logs the IP, country, ISP, device, browser, and which filter triggered. Use this data to verify your proxy traffic is being categorized correctly.
Step 5: Configure Your Antidetect Browser with Proxies
Your antidetect browser is where proxy configuration comes together with your ad account management.
Setting up browser profiles:
Create a separate browser profile for each ad account you manage. In each profile's proxy settings, enter your proxy credentials.
For platforms like Dolphin, GoLogin, or AdsPower, the proxy configuration typically looks like:
- Proxy type: HTTP or SOCKS5 (check what your provider supports)
- Host: Your proxy server address
- Port: The assigned port number
- Username: Your proxy authentication username
- Password: Your proxy authentication password
Test the connection within the antidetect browser before accessing any ad platforms. Most browsers have a "Check Proxy" button that verifies your IP and location.
Matching proxy GEO to account GEO:
This detail catches many marketers. If your Google Ads account was created with a German billing address, access it through a German proxy. Mismatched access locations are a primary flag for platform detection systems.
The same applies to your campaign traffic. If you're running ads targeting Brazil, your testing sessions should come from Brazilian IPs when reviewing how your cloaked funnel appears to real users.
Different Proxy Types and When to Use Each
Understanding which proxy type to deploy in different scenarios improves your results:
Residential proxies for:
- Daily ad account management
- Campaign testing from target GEOs
- Any direct interaction with Facebook, Google, or TikTok ad platforms
- Accessing cloaked pages as a "real user"
Datacenter proxies for:
- High-speed scraping of competitor pages
- Internal testing and development
- Bulk operations that don't touch ad platforms directly
Mobile proxies for:
- TikTok campaigns (the platform is mobile-first)
- Ultra-sensitive accounts with ban history
- When residential proxies still get flagged
ISP proxies for:
- Balanced use cases needing better speed than residential
- Secondary accounts and testing environments
Common Mistakes to Avoid
Using free or public proxies: These IPs are blacklisted across every major platform. One session through a compromised proxy can burn an account you spent weeks warming up.
Sharing proxies across accounts: Each ad account needs isolation. Using the same proxy for multiple Facebook accounts creates the exact cross-account connection you're trying to avoid.
Forgetting to rotate: Residential proxy pools should rotate regularly. Static residential IPs eventually get fingerprinted. Check your provider's rotation settings.
Mismatched browser fingerprint: Your proxy says you're in Germany, but your browser timezone is set to PST. These inconsistencies trigger detection. Antidetect browsers help manage this, but you need to configure them correctly.
Testing from your real IP: Never access your cloaked setup from your actual connection. Always use a proxy, even for quick checks.
Advanced Tips for Proxy Integration
Whitelist your testing IPs: In Cloaking House's flow settings, you can add IP addresses to a whitelist. Add your proxy IPs here during testing so you can see the offer page without disabling filters.
Monitor proxy performance: Slow proxies hurt campaign performance and user experience. Track response times and switch providers if latency becomes an issue.
Set up proxy rotation scripts: For high-volume campaigns, automated proxy rotation prevents IP exhaustion. Most premium providers offer API access for programmatic rotation.
Keep backup proxies ready: Proxy services occasionally go down. Having a secondary provider configured prevents campaign downtime during critical periods.
Conclusion
Setting up proxies with Cloaking House transforms your campaigns from vulnerable targets into properly protected operations. The combination of traffic filtering and identity masking closes the gaps that platform detection systems exploit.
Start with the basics: quality residential proxies matched to your target GEO, proper browser profile configuration, and thorough testing before going live.
As you scale, invest in dedicated proxy infrastructure for each account vertical. The cost is minimal compared to losing campaigns and accounts to detection.
Your next step is creating your first properly configured flow. Follow this guide, test thoroughly with proxies enabled, and you'll see the difference in campaign longevity immediately.
FAQ
What type of proxy works best with Cloaking House?
Residential proxies deliver the best results for most Cloaking House setups. They provide IPs from real ISPs that match legitimate user traffic patterns. For mobile-heavy campaigns like TikTok, mobile proxies offer even higher trust levels.
Can I use free proxies with Cloaking House?
Free proxies create more problems than they solve. Their IPs are flagged across major ad platforms, and they lack the reliability needed for campaign management. The few dollars saved aren't worth the burned accounts and failed campaigns.
How many proxies do I need per campaign?
At minimum, use one dedicated proxy per ad account. For larger operations, maintain separate proxy pools for each platform (Facebook, Google, TikTok). High-volume campaigns benefit from rotating residential pools with 10-50 IPs per account.
Do I need proxies if Cloaking House already blocks VPN traffic?
Yes. Cloaking House blocks suspicious incoming traffic, but you need proxies for your outgoing connections when accessing ad platforms and testing your own funnels. These are two different layers of protection working together.


![IPRoyal vs Oxylabs: Which provider is better? [2026]](https://cdn.roundproxies.com/blog-images/2026/02/iproyal-vs-oxylabs-1.png)